Manifest Your 2024 Travel Goals with This Simple Travel Prep

Photo by Riku Lu via Unsplash
It’s 2024 and we know you’ve got a lot of travel dreams to chase. As wanderlusts, ticking boxes off our bucket lists is sure fun, but we also often forget one crucial preparation step: cleaning our luggage.
Anywhere we go, we count on our luggage to be a faithful companion during our trips. It’s only right that we give it the love it deserves. After all, a clean suitcase not only looks good but also maintains a hygienic space for your belongings. It also extends its lifespan and ensures it remains as functional as always.
If you’ve got a long list of travel goals to achieve this year, it’s time to do some organizing and cleaning of your suitcase. Here’s a guide to help you get started.
Before you begin
First things first! Before diving into the cleaning process, there are a couple of steps you need to take.
-
Assess your luggage's current condition
Take a moment to evaluate your luggage's current state. Are there any visible stains, scuffs, or dirt accumulation? Check the zippers, handles, and wheels to identify any areas that may need special attention during the cleaning process.
-
Gather your cleaning tools
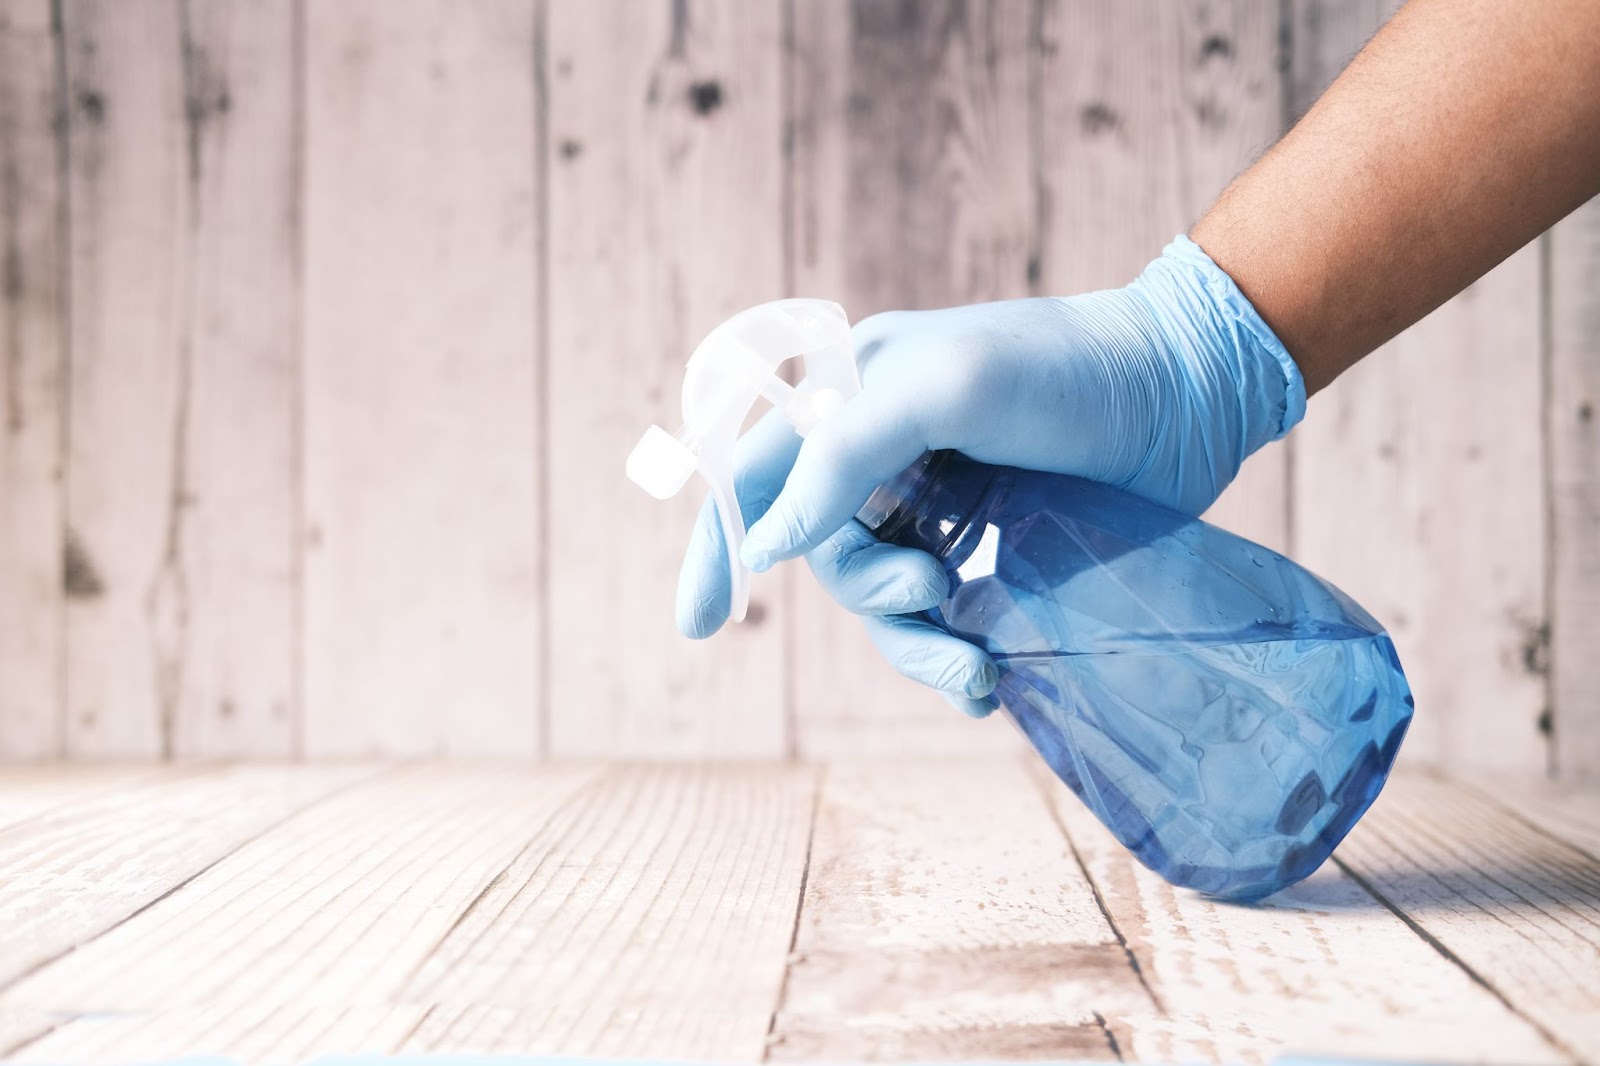
Photo by Towfiqu Barbhuiya via Unsplash
It’s always efficient to have everything you need before you begin cleaning. Make sure you have the following tools ready:
-
Mild soap or detergent
-
Soft-bristled brush or toothbrush
-
Microfiber cloth or sponge
-
All-purpose cleaner
-
Disinfectant wipes
-
Water in a spray bottle
-
Vacuum cleaner with brush attachment
-
Leather or fabric cleaner (depending on your luggage material)
Now, let the cleaning begin!
The Cleaning Process
Step 1: Empty your luggage
Start by emptying your luggage completely. Check all compartments and pockets. Inspect for small items like receipts, tickets, or chargers. Make sure nothing is left behind.
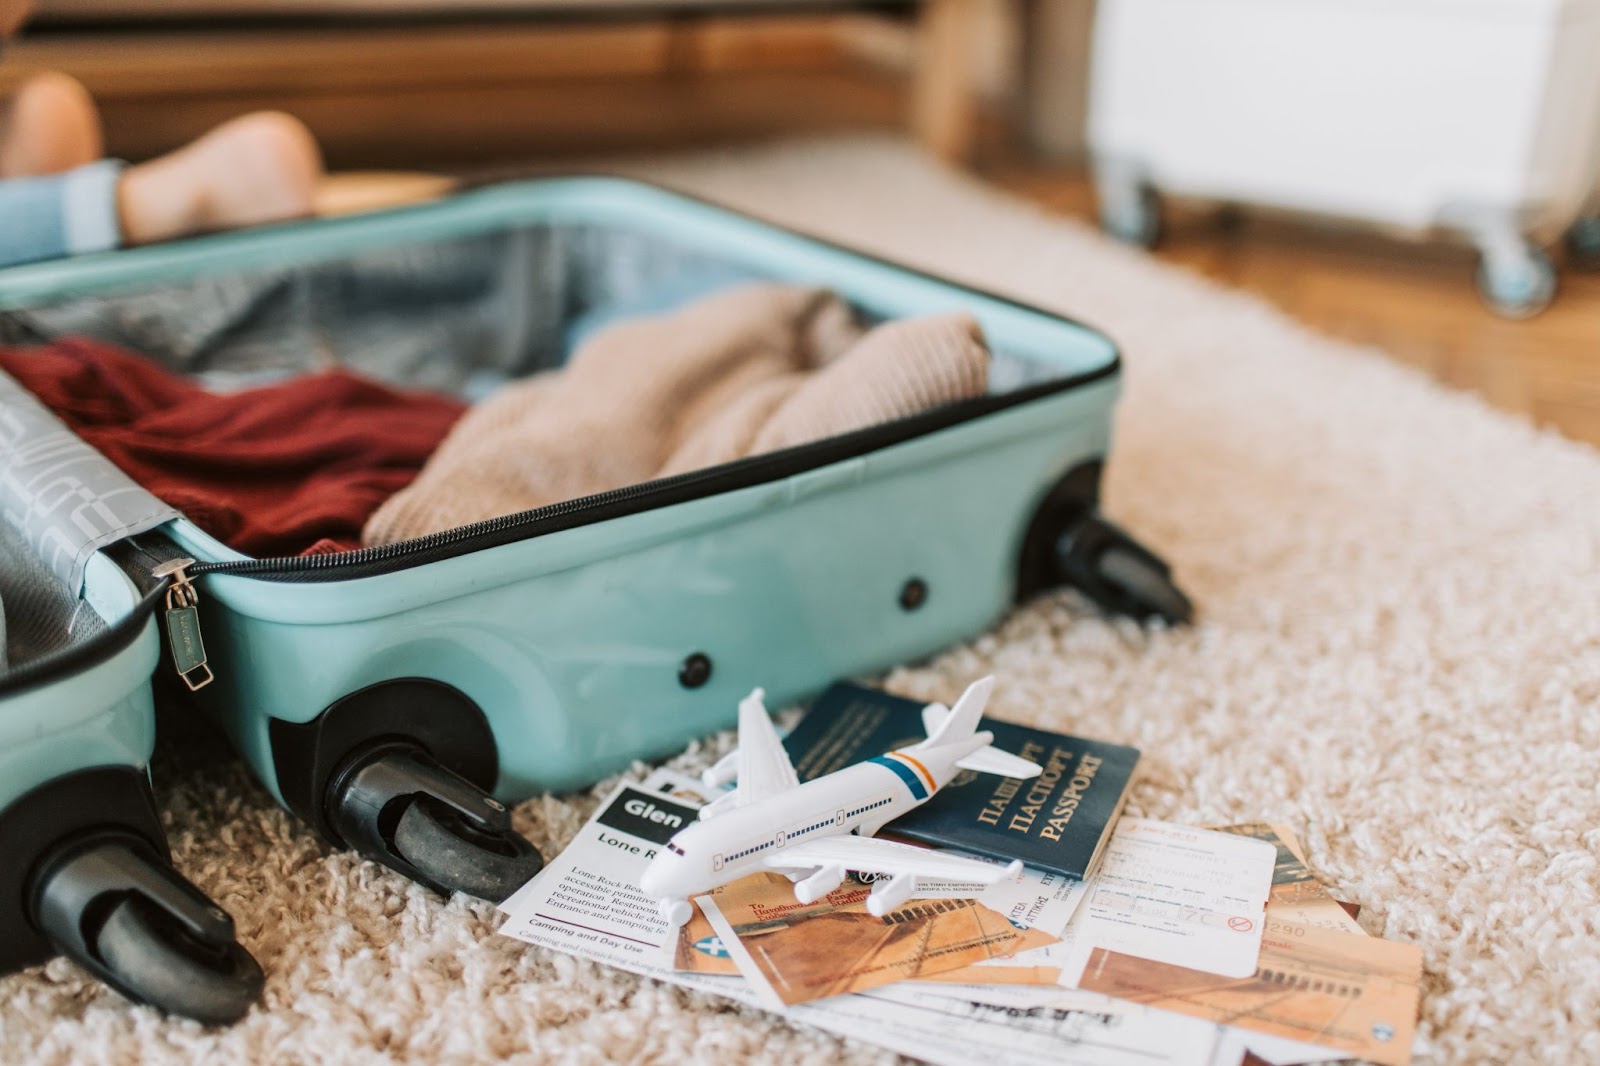
Photo by Vlada Karpovich via Pexels
Step 2: Vacuum the interior
Flip it upside down and give it a good shake to remove loose dirt. Use a vacuum cleaner with a brush attachment to clean the interior, paying extra attention to corners and pockets. If you don’t have a vacuum cleaner at home, you may use a soft-bristled brush or a clean, dry sponge as an alternative.
This step ensures a fresh and dirt-free space for your belongings.
Step 3: Wipe down the exterior
For hard-case luggage, dampen a microfiber cloth with a mixture of mild soap and water. You may also use ionized water or alcohol. Gently wipe down the exterior. Avoid using harsh chemicals that may damage the outer case.
For soft-case luggage, prepare a soapy mixture using a mild detergent and lukewarm water. Fill a spray bottle, lightly mist the fabric, and proceed to wipe down the entire exterior. There are also fabric cleaners available in the supermarket that you can use. Just remember to perform a spot test on an unnoticeable area of your luggage to ensure it doesn’t cause discoloration or damage.
For leather luggage, always use a leather cleaner to maintain its natural condition.
Step 4: Focus on stains and scuffs
If you encounter stubborn stains or scuffs, treat them with an all-purpose cleaner or a specialized stain remover. Gently scrub the stained area in a circular motion. Be cautious not to apply too much pressure, especially if the luggage is delicate.
Step 5: Clean zippers, handles, and wheels
Photo by Gustavo Fring via Pexels
These high-touch areas deserve special attention. Dab a soft-bristled brush or toothbrush in the mixture you used and scrub zippers, handles, and wheels. Wipe away any excess moisture with a dry cloth to prevent water damage.
Step 6: Disinfect and deodorize
Use a disinfectant spray or wipe it down again with disinfectant wipes to eliminate germs. You may also place a few dryer sheets or a fabric-friendly air freshener in the interior pockets to keep your luggage smelling fresh.
Step 7: Air dry thoroughly
No matter what type of luggage you have, allow it to air dry completely before packing or storing it. Ensure it's dry both on the surface and in any hidden pockets to prevent molds.
If you want to know more about taking care of your luggage, check our Product Care Guide.
After Cleaning
Photo by Adrian Agawin via Pexels
Now that you’ve cleaned your luggage, the last step is to properly store it and make sure it’s ready for your next adventure. To do that,remember these three things:
-
Put it in a dust bag. If that’s unavailable, consider using a luggage cover.
-
Use silica gel packets for added protection against moisture
-
Choose a cool, dry storage space away from direct sunlight
That’s it! Your luggage is now ready for a year of exciting travels. By following these steps, you keep your luggage—and yourself—ready and open for new adventures waiting to be unlocked this year.
Let’s make cleaning our suitcases a habit this year, shall we?
What topics would you like to know more about next? Tell us about it by mentioning us on Facebook and Instagram @thetravelclubph!